


 |
DreamHost DreamObjects Cloud Object Storage에 직접 백업 |
|
사용자의 DreamHost DreamObjects 계정으로 백업 |
|
사전 설정한 DreamHost DreamObjects 계정으로 백업 |
|
정책을 통한 DreamHost DreamObjects 옵션 활성화 / 비활성화 |

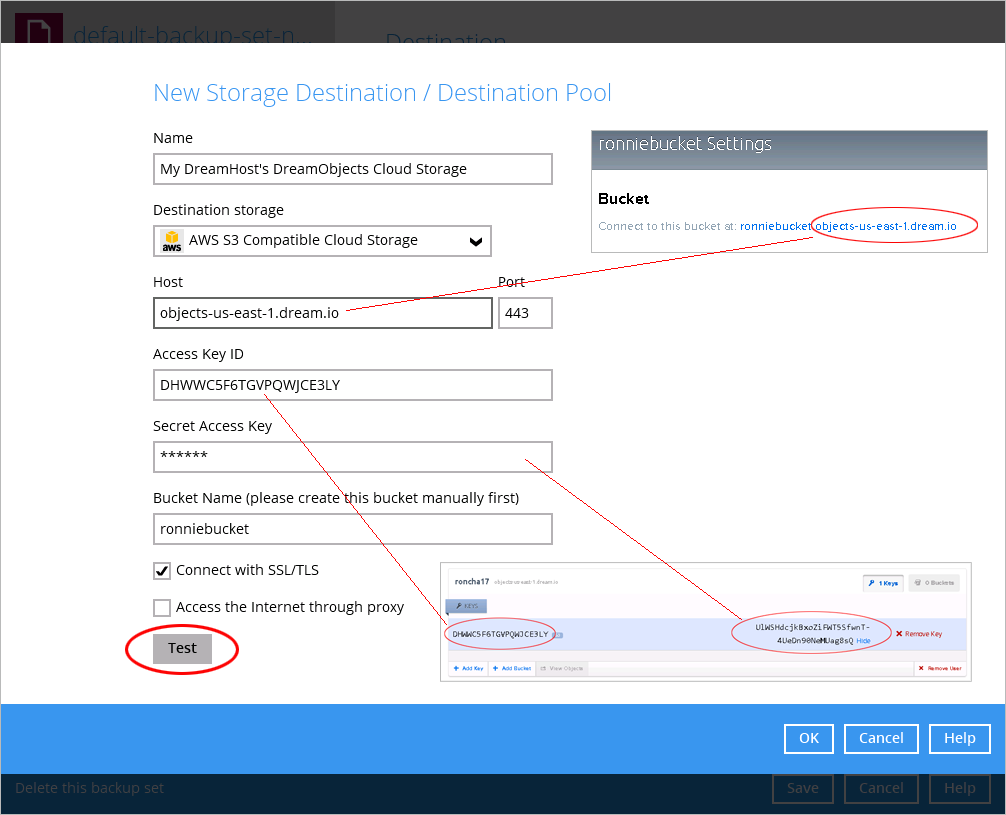
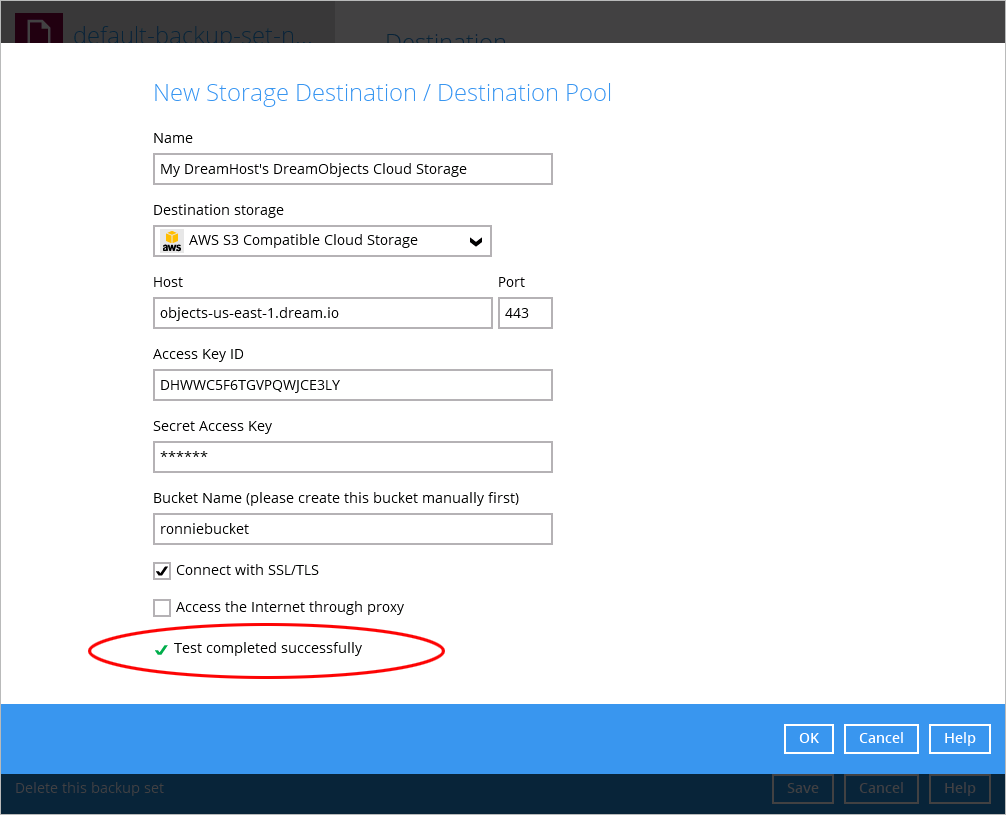
The policy in AhsayCBS allows administrator to: a). Enable / disable users to back up to their own DreamHost DreamObjects account, and b). Enable / disable users to back up to a dedicated DreamHost DreamObjects account predefined in AhsayCBS.
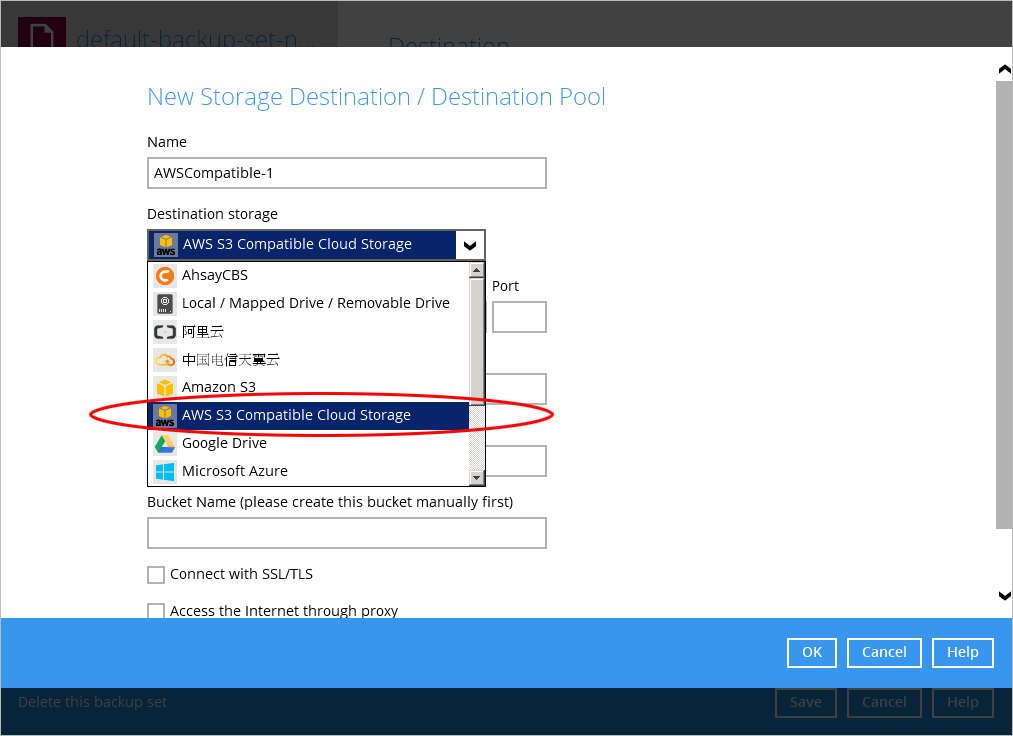
Go to "AhsayCBS web console > Backup / Restore > Users, Groups & Policies > Policy Group". Select an existing policy or create a new policy. Then, enable the feature "Backup Set Settings > Destination Visible to Users". After this feature is enabled, you can add "Amazon S3 AWS Compatible Storage" under Standard Destination. DreamHost DreamObjects is an S3 Compatible cloud storage, so adding this option will let users back up to their own DreamHost DreamObjects account.

Then, assign users to an appropriate User Group that is bound to this policy, and these users will be able to back up to their own DreamHost DreamObjects accounts.
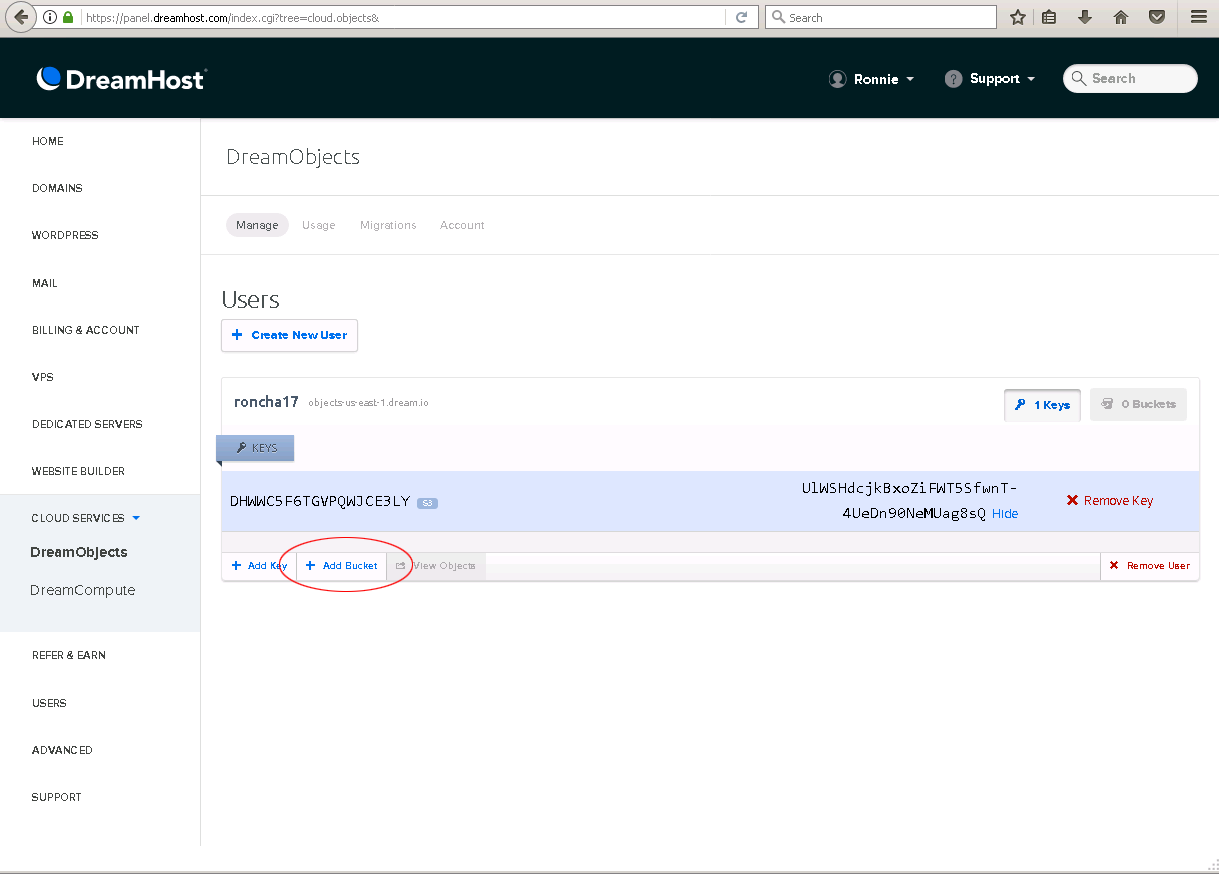
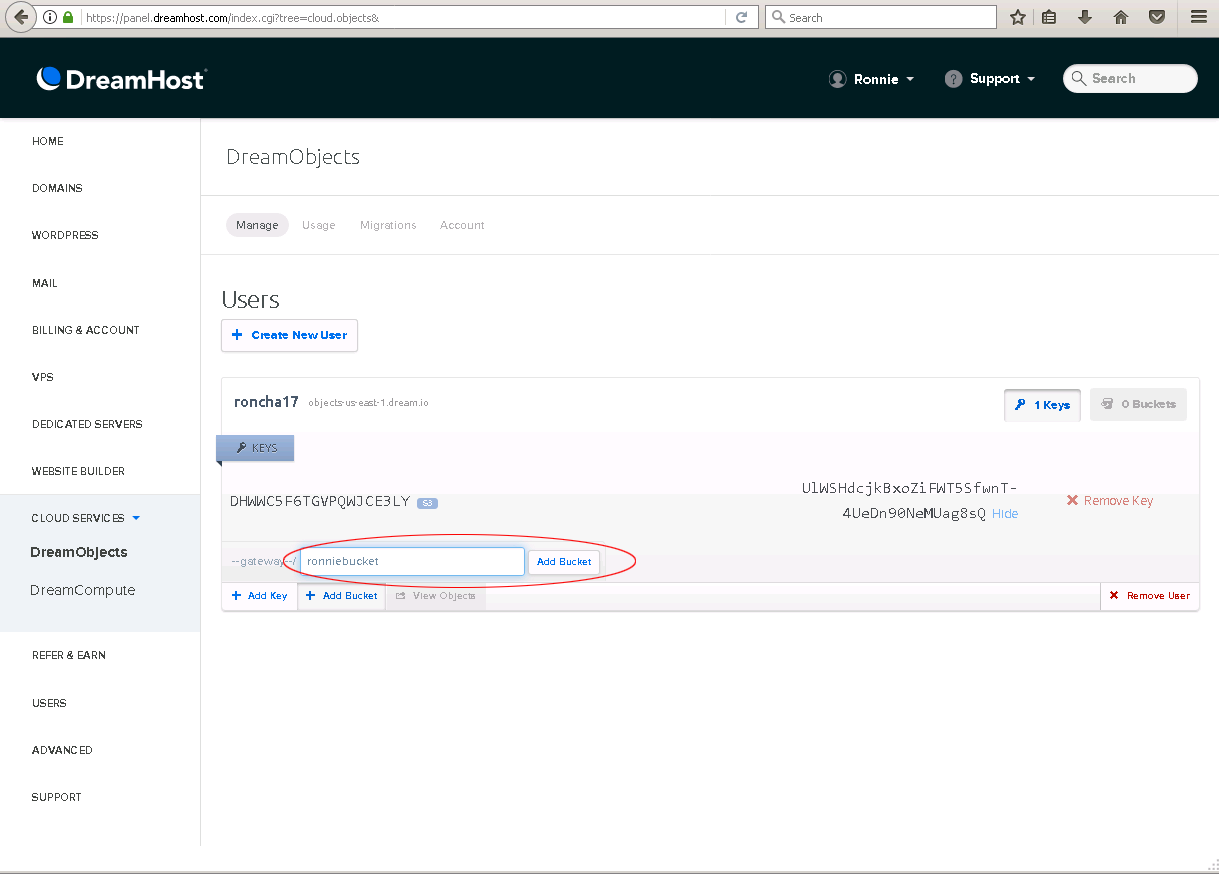
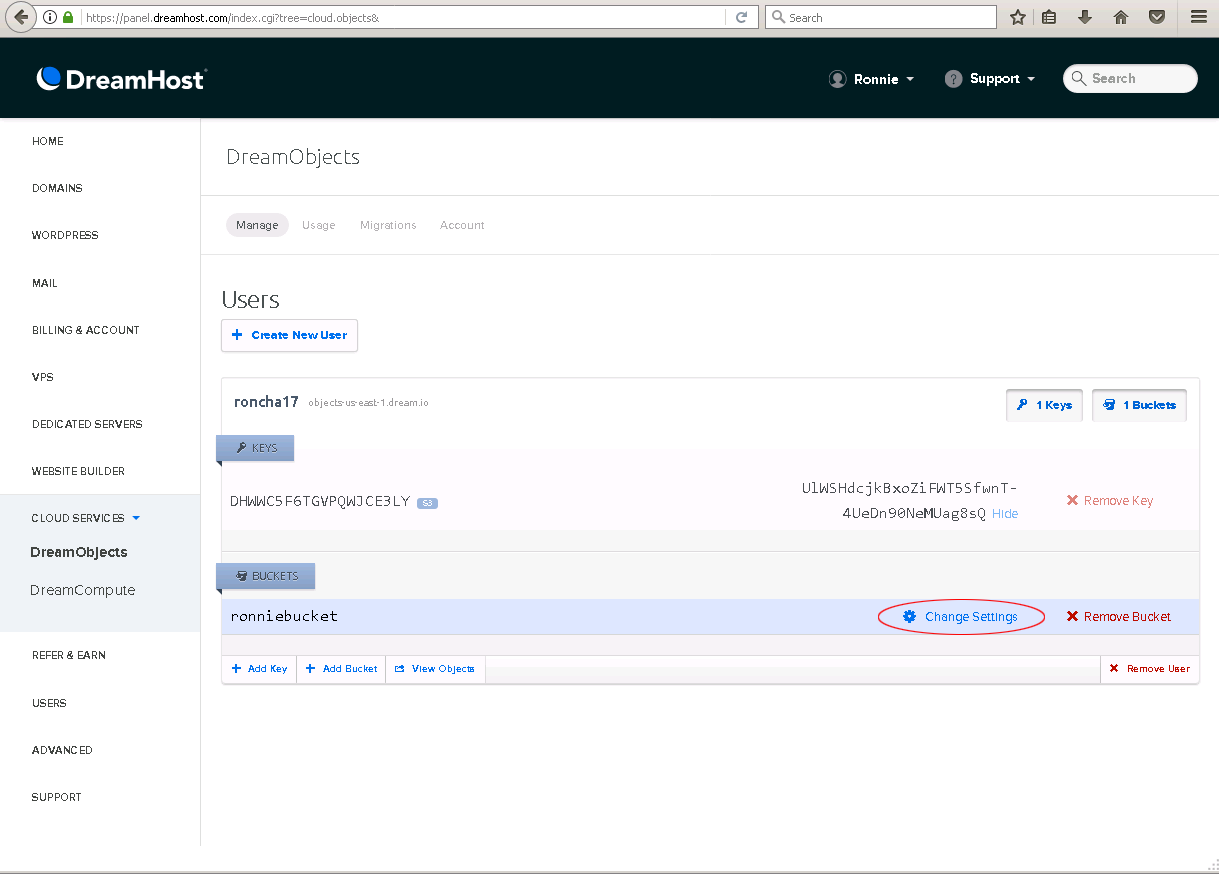
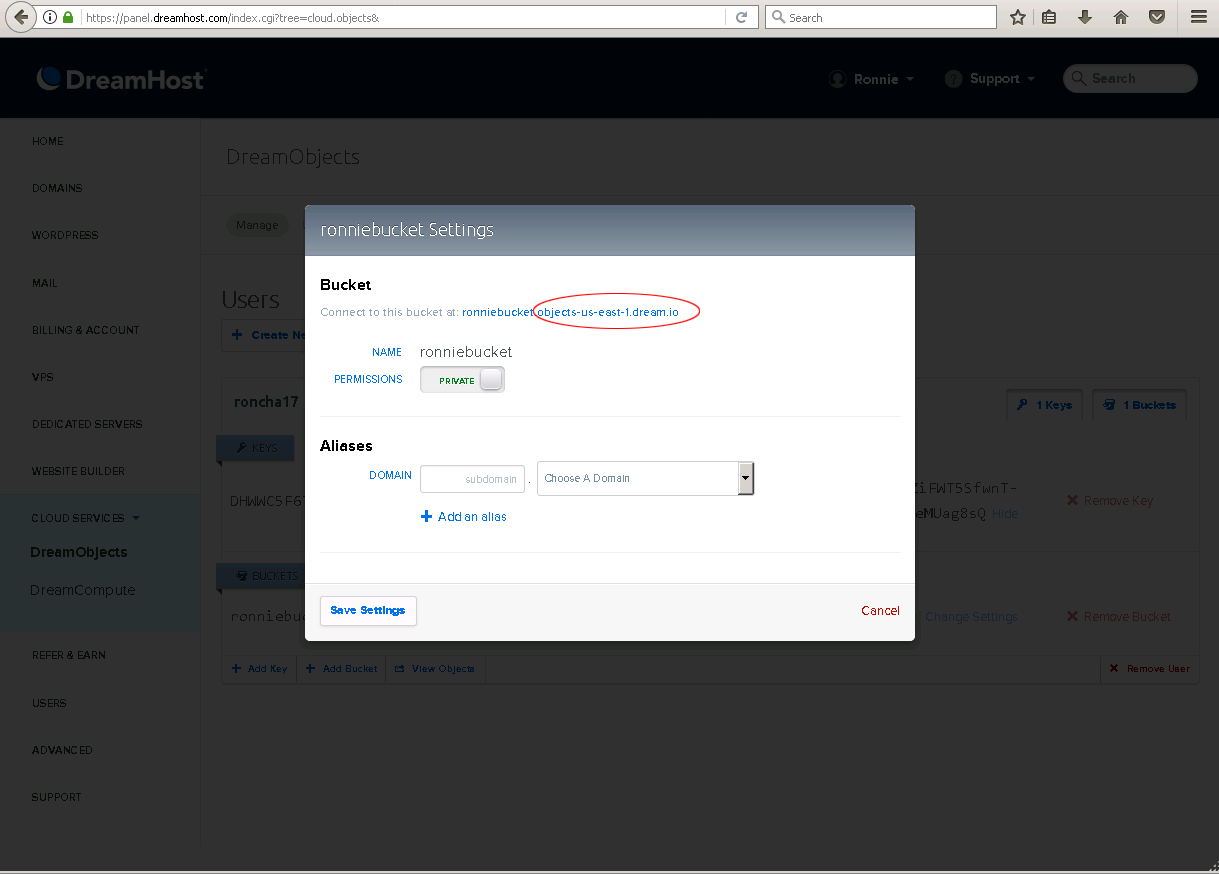
If you're an MSP who want to use DreamHost DreamObjects for storing all your users' backup data, you need to create a Predefined Destination first by going to "AhsayCBS web console > System Settings > Basic > Predefined Destinations" and adding your dedicated DreamHost DreamObjects bucket there, as DreamHost DreamObjects is an S3 Compatible cloud storage.

After the above step, go to "AhsayCBS web console > Backup / Restore > Users, Groups & Policies > Policy Group". Select an existing policy or create a new policy. Then, enable the feature "Backup Set Settings > Destination Visible to Users" and add the previously created DreamHost DreamObjects bucket under Predefined Destination.

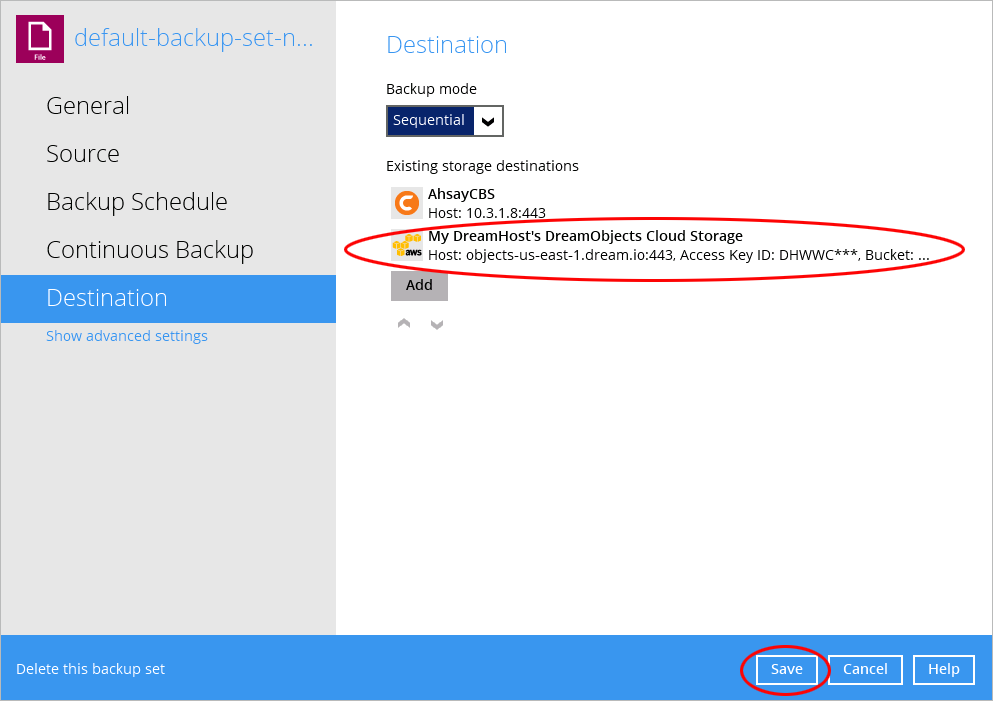
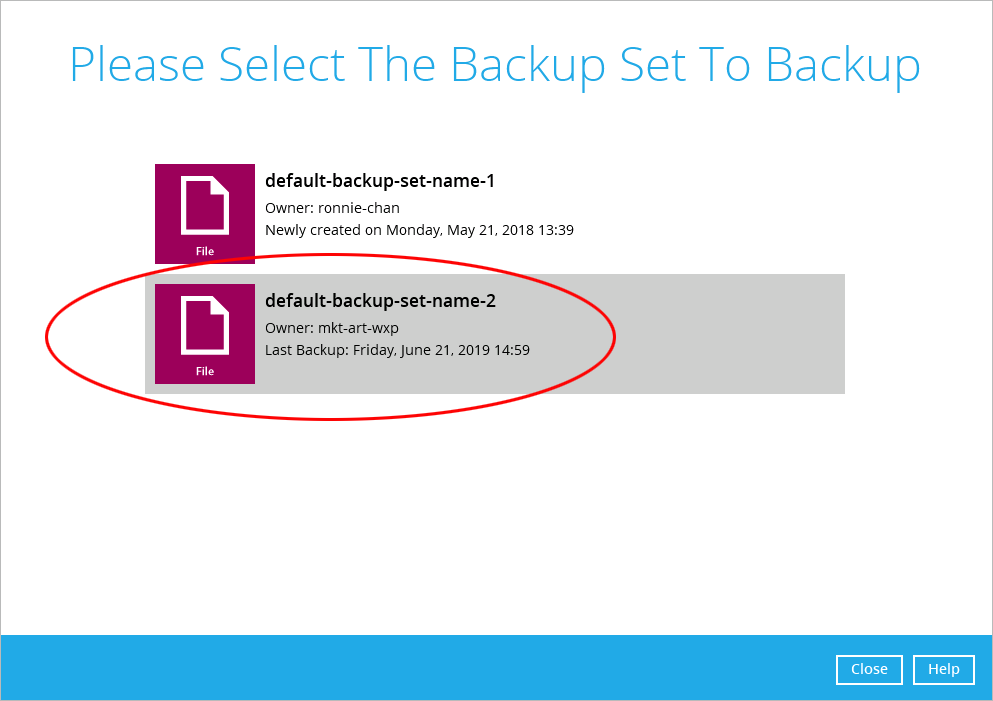
Then, assign users to an appropriate User Group that is bound to this policy, and these users will be able to choose the predefined DreamHost DreamObjects storage as the backup destination. As you can see from the following image, only the customized destination name will be shown. Only a generic destination logo will be shown. Therefore, if you don't want the backup users to know the type of destination used, you can simply enter a name without the destination type, such as My Backup Server.

 페이스북 메시지 보내기